Crispy Sourdough Discard Brownies
Highlighted under: Sweet Sensations
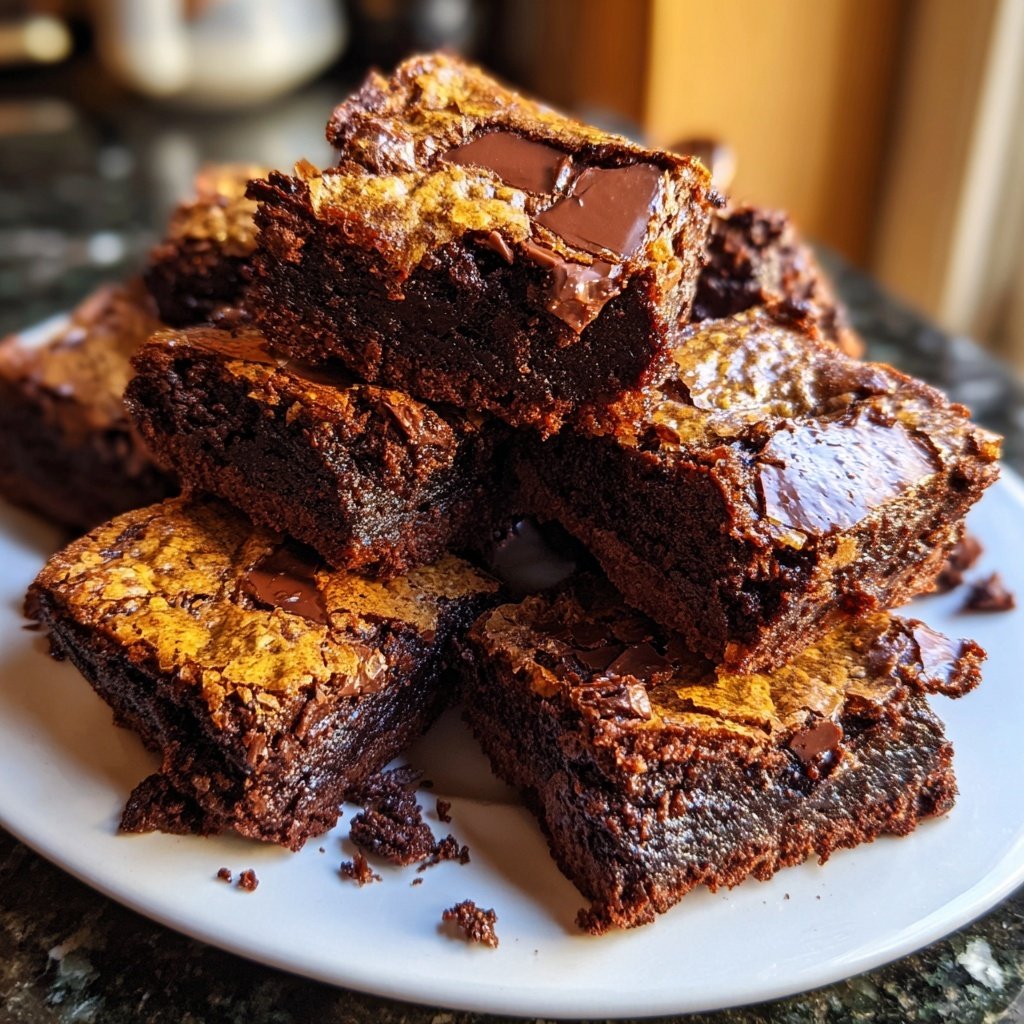
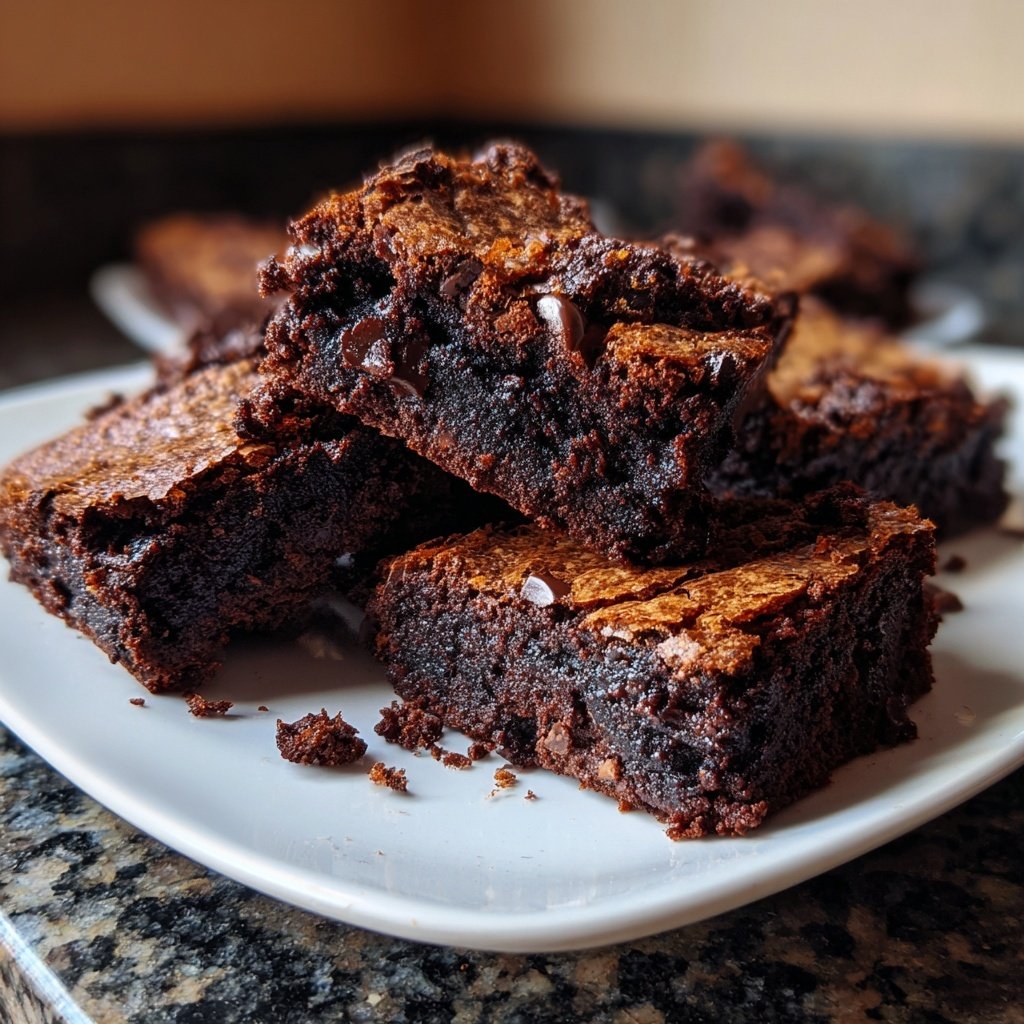
I love discovering delicious ways to reduce waste in the kitchen, and these crispy sourdough discard brownies are one of my favorite finds. Using leftover sourdough starter not only adds a unique tang to the flavor profile but also creates a wonderfully fudgy texture. I was delighted to see how easily these brownies come together, transforming what would be discarded into a rich, chocolatey treat. Their crispy edges and moist center make them irresistible, and I can’t wait to share this recipe with you!
When I first made these brownies, I was skeptical about using sourdough starter. However, I was pleasantly surprised by the balance of flavors it contributed to the overall taste. The slight acidity cuts through the sweetness, creating a complex dessert experience. To ensure the perfect texture, I experimented with different baking times, and I've found that 25 minutes is the sweet spot for that ideal combination of chewy and crispy.
One tip I discovered during my baking journey is to let the brownies cool completely before cutting into them. This ensures the perfect clean slice and helps the flavors meld together beautifully. Trust me, you'll be rewarded with a decadent, rich brownie that captures the essence of traditional treats while being environmentally friendly!
Why You'll Love These Brownies
- Unique tang from the sourdough starter elevates the flavor
- Crispy edges with a soft, fudgy center
- A perfect way to utilize leftover sourdough starter
The Magic of Sourdough Discard
Using sourdough discard in these brownies adds a delightful tang that both contrasts and complements the sweetness of the chocolate. The acidity from the sourdough helps to balance the richness of the butter and sugar, creating a complex flavor profile that's truly unique. Don’t worry; the tanginess is subtle and enhances the overall experience rather than overpowering it.
Additionally, sourdough starter brings moisture and fudginess to the brownies. This means your brownies will have a rich texture that holds together perfectly without being overly dense. The small bubbles left from the fermentation process can create a lightness in the final product, contributing to a chewy consistency that many people adore.
Perfecting Texture and Bake Time
To achieve the ideal brownie texture, pay close attention to your bake time. I usually start checking for doneness around 25 minutes, but it can take up to 30 minutes depending on your oven. Look for the edges to be set while the center remains slightly soft. A toothpick should come out with a few moist crumbs—this ensures you don’t overbake and keep the fudgy texture intact.
Using a 9x13-inch pan is key for evenly baking the brownies. If you’re looking for thicker brownies, you could reduce the pan size but be sure to adjust your baking time accordingly. Keep an eye on your brownies as they approach the end of the baking period; they can transition from perfectly baked to overdone very quickly.
Ingredients
For the Brownies
- 1 cup unsalted butter
- 2 cups granulated sugar
- 1 cup sourdough starter (discard)
- 1 teaspoon vanilla extract
- 4 large eggs
- 1 cup all-purpose flour
- 1 cup unsweetened cocoa powder
- 1 teaspoon baking powder
- 1/2 teaspoon salt
- 1 cup chocolate chips (optional)
Instructions
Preheat the Oven
Preheat your oven to 350°F (175°C) and prepare a 9x13 inch baking pan by greasing it or lining it with parchment paper.
Melt the Butter
In a medium saucepan, melt the butter over low heat. Once melted, remove from heat and stir in the sugar until well combined.
Mix Wet Ingredients
Allow the mixture to cool slightly before adding in the sourdough starter, vanilla extract, and eggs. Whisk until smooth.
Combine Dry Ingredients
In a large bowl, whisk together the flour, cocoa powder, baking powder, and salt. Gradually fold the wet mixture into the dry ingredients using a spatula.
Fold in Chocolate Chips
If using, stir in the chocolate chips until evenly distributed throughout the batter.
Bake the Brownies
Pour the batter into the prepared baking pan and spread it out evenly. Bake in the preheated oven for 25-30 minutes or until a toothpick inserted in the center comes out with a few moist crumbs.
Cool and Serve
Let the brownies cool completely in the pan before cutting into squares and serving.
Pro Tips
- To enhance the chocolate flavor, try using a mix of milk and dark chocolate chips. Additionally, serving these brownies with a scoop of vanilla ice cream takes them to another level of indulgence.
Storage and Serving Suggestions
Once your brownies have cooled completely, you can store them in an airtight container at room temperature for up to four days. If you’d like to keep them longer, freezing them is a great option. Simply wrap individual squares in plastic wrap and place them in a freezer-safe bag. They’ll retain their delicious taste for up to three months, and you can thaw them at room temperature or microwave them for a quick treat.
For serving, I recommend warming the brownies slightly before enjoying them. This enhances the fudgy center and makes the chocolate chips gooey, which elevates the experience. Pair them with a scoop of vanilla ice cream or a drizzle of caramel sauce for a delightful dessert that’s sure to impress.
Ingredient Substitutions and Variations
If you're looking for a gluten-free option, you can substitute all-purpose flour with a gluten-free blend that’s suitable for baking. Make sure the blend contains xanthan gum for the best texture. This will keep your brownies chewy without sacrificing taste, allowing everyone to enjoy this treat, regardless of dietary restrictions.
For a richer flavor, consider using dark chocolate cocoa powder instead of the regular unsweetened cocoa. The deeper chocolate notes will make for an even more decadent brownie. You can also add nuts, such as walnuts or pecans, for added texture and a delightful crunch—just be sure to fold them in gently to avoid overmixing.
Questions About Recipes
→ Can I use active sourdough starter instead of discard?
Yes, you can use active sourdough starter. Just make sure to adjust the liquid content slightly since active starter may have more moisture.
→ How should I store leftover brownies?
Store them in an airtight container at room temperature for up to 3 days or in the fridge for up to a week.
→ Can I freeze these brownies?
Absolutely! Once cooled, wrap them tightly in plastic wrap and then place in a freezer-safe bag. They can be frozen for up to 3 months.
→ What if I don't have chocolate chips?
You can omit the chocolate chips or substitute them with nuts or dried fruit for added texture and flavor.
Crispy Sourdough Discard Brownies
Created by: Ivy Richardson
Recipe Type: Sweet Sensations
Skill Level: Easy
Final Quantity: 12 brownies
What You'll Need
For the Brownies
- 1 cup unsalted butter
- 2 cups granulated sugar
- 1 cup sourdough starter (discard)
- 1 teaspoon vanilla extract
- 4 large eggs
- 1 cup all-purpose flour
- 1 cup unsweetened cocoa powder
- 1 teaspoon baking powder
- 1/2 teaspoon salt
- 1 cup chocolate chips (optional)
How-To Steps
Preheat your oven to 350°F (175°C) and prepare a 9x13 inch baking pan by greasing it or lining it with parchment paper.
In a medium saucepan, melt the butter over low heat. Once melted, remove from heat and stir in the sugar until well combined.
Allow the mixture to cool slightly before adding in the sourdough starter, vanilla extract, and eggs. Whisk until smooth.
In a large bowl, whisk together the flour, cocoa powder, baking powder, and salt. Gradually fold the wet mixture into the dry ingredients using a spatula.
If using, stir in the chocolate chips until evenly distributed throughout the batter.
Pour the batter into the prepared baking pan and spread it out evenly. Bake in the preheated oven for 25-30 minutes or until a toothpick inserted in the center comes out with a few moist crumbs.
Let the brownies cool completely in the pan before cutting into squares and serving.
Extra Tips
- To enhance the chocolate flavor, try using a mix of milk and dark chocolate chips. Additionally, serving these brownies with a scoop of vanilla ice cream takes them to another level of indulgence.
Nutritional Breakdown (Per Serving)
- Calories: 380 kcal
- Total Fat: 26g
- Saturated Fat: 15g
- Cholesterol: 195mg
- Sodium: 85mg
- Total Carbohydrates: 32g
- Dietary Fiber: 3g
- Sugars: 24g
- Protein: 6g